Overview
To wire a Tesla charger for home installation, one must follow a detailed step-by-step process that includes site assessment, electrical upgrades, proper mounting, and secure wiring connections. The article emphasizes the importance of having the right tools and materials, as well as adhering to safety precautions and local codes, to ensure a successful and efficient installation.
Introduction
Installing a Tesla charger at home can be an exciting step toward embracing a more sustainable lifestyle, but it also comes with its fair share of considerations. From understanding the essential tools and materials needed for a smooth installation to evaluating the costs involved, every detail plays a crucial role in making this transition seamless.
With the electric vehicle market booming, homeowners are increasingly looking for ways to enhance their charging options. This guide not only breaks down the step-by-step process of wiring your charger but also explores the different charging levels, safety precautions, and compliance requirements that ensure a safe and efficient setup.
Whether it’s your first time tackling an electrical project or you’re a seasoned DIY enthusiast, the insights shared here will empower you to navigate the installation process with confidence and ease.
Essential Tools and Materials for Tesla Charger Installation
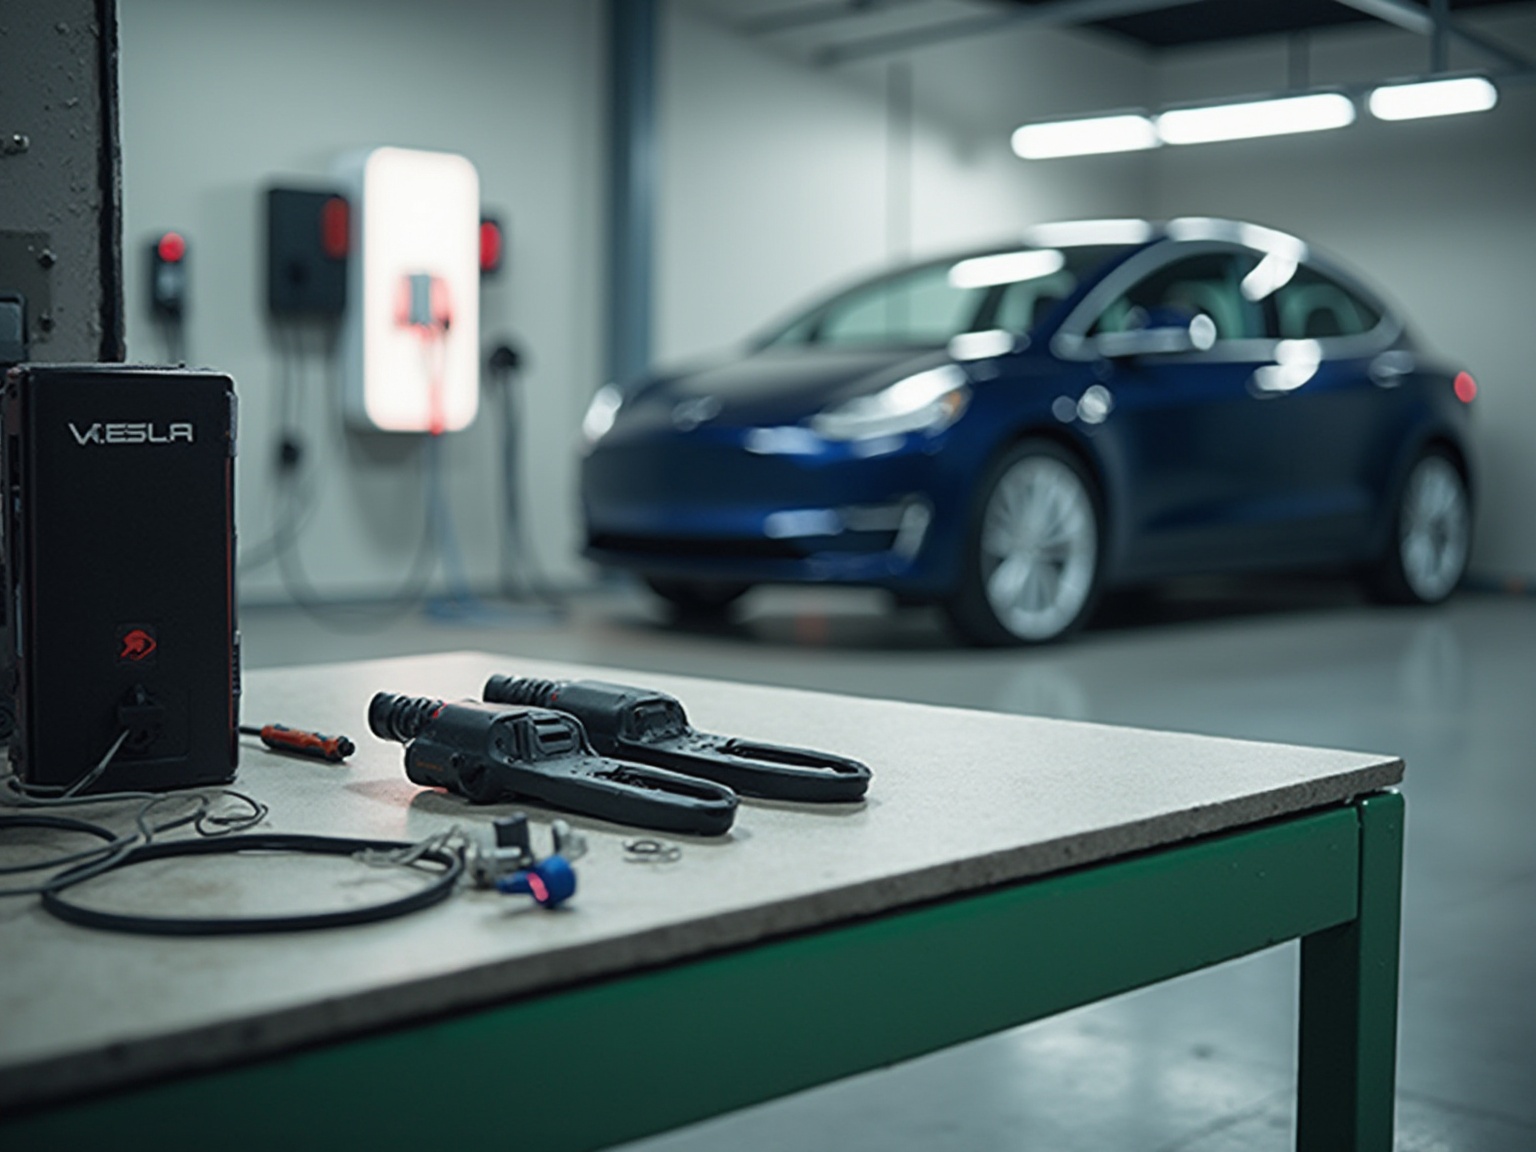
When preparing to install your electric vehicle charging station, it’s crucial to have the correct tools and materials available for wiring a Tesla charger to ensure the installation process is as seamless as possible. With the actual production of lithium-ion batteries reaching around 160 GWh in 2021, the demand for electric vehicle infrastructure, including Tesla home charging stations, is rapidly increasing. Here’s a step-by-step guide for wiring a Tesla charger along with what you’ll need:
Step-by-Step Installation Process:
- Site Assessment: Determine the best location for the device, ensuring proximity to your vehicle’s parking space and access to the electrical panel.
- Electrical Upgrades: If needed, consult an electrician to evaluate if your home’s electrical system can accommodate the device, including a dedicated circuit.
- Installation: Secure the Wall Connector to the wall using the provided mounting hardware. Ensure it’s level and properly aligned.
- When wiring a Tesla charger, connect the electrical wires to the power source and circuit breaker, following the manufacturer’s instructions carefully.
- Testing: Once installed, use a voltage tester to ensure everything is wired correctly before turning on the power.
Tools Needed:
- A comprehensive screwdriver set, including both flathead and Phillips varieties for versatility.
- Wire stripper and cutter to prepare your electrical wires efficiently.
- A drill equipped with the right bits to help secure your device in place.
- A level to ensure your installation is perfectly aligned.
- A voltage tester for safety, ensuring that your wiring is correctly set up.
- Safety goggles and gloves to protect yourself while working with electrical components.
Materials Required:
- The Wall Connector, specifically designed for optimal power efficiency and allowing control and management of the process through the app post-installation.
- Electrical wire, ensuring you choose the appropriate gauge tailored for your specific circuit requirements.
- A dedicated circuit breaker to manage the electrical load safely.
- A junction box, if necessary, to organize and protect your wiring connections.
- Mounting hardware, which is typically included with the device for easy installation.
Collecting these items ahead of time not only streamlines your installation process but also ensures that you’re fully prepared to tackle the project confidently. Additionally, as illustrated by Norway’s experience, where the ratio of battery electric vehicles (BEVs) to public charging points shifted dramatically from 1.3 LDVs per charging point in 2011 to 25 BEVs per charging point by the end of 2022, the need for adequate charging infrastructure is crucial as the number of electric vehicles continues to grow. Moreover, investing in a home charging station for electric vehicles alongside solar battery systems can offer substantial economic advantages, decreasing dependence on grid power and improving energy autonomy.
Remember, having the right tools at your disposal is more important than ever as you take this step towards energy independence and sustainability!

Step-by-Step Guide to Wiring Your Tesla Charger
Wiring a Tesla charger for your electric vehicle charging station can be a manageable task, especially with the right guidance. At Powercore Electric, we emphasize a comprehensive installation process that starts with a thorough site assessment to ensure your device is in the best location. Here’s how you can do it safely and effectively:
-
Turn Off Power: Safety first! Head to your circuit breaker and turn off the power to avoid any accidents.
-
Mount the Charger: Start by using a level to position your Tesla Wall Connector straight.
Mark where the mounting holes will go, drill them, and secure the device with screws.
-
Run the Electrical Wire: Feed the appropriate gauge electrical wire from your circuit breaker to the position of your device. Make sure it’s properly secured to prevent any damage.
-
Connect Wires: Carefully open the device’s cover and connect the wires according to their color coding: typically, black for hot, white for neutral, and green for ground. Use wire nuts to make secure connections.
-
Install Circuit Breaker: Add a dedicated circuit breaker in your electrical panel specifically for the charging device, ensuring it matches Tesla’s specifications for safety.
-
Test Connections: Before flipping the power back on, double-check all your connections and ensure there are no exposed wires—safety is key here!
-
Restore Power: Finally, turn the circuit breaker back on and test your device to make sure everything is functioning as it should.
-
Testing and Commissioning: After setup, it’s crucial to rigorously test the power station to ensure it’s functioning optimally before handing it over to you. This step is vital for confirming that all safety and regulatory standards are met, and by following these straightforward steps, you’ll be successful in wiring a Tesla charger, making your electric vehicle charging experience as smooth as possible!
Remember, following best practices is essential, as noted by Christopher Kitcher, an expert in the electrical sector. He emphasizes that essential calculations must be retained for professional setups. So, using the right tools and methods is key; a customer once described a specific tool as ‘essential for electricians,’ reinforcing the value of following these outlined steps.
In a broader context, the demand for electric vehicle chargers is growing, which aligns with trends in the electrical installation industry.
 and installation steps (light green). Arrows demonstrate the sequence of actions.")
Understanding Tesla Charging Options: Level 1 vs. Level 2
When it comes to charging your Tesla at home, you have two main options to consider:
- Level 1 Charging: This setup uses a standard 120-volt outlet and is typically the slower of the two, providing around 3-5 miles of range for every hour of charging. It’s a decent choice if you have low daily mileage and plan to charge overnight. However, keep in mind that it might not keep up with the demands of a busy household.
- Level 2 Charging: Conversely, Level 2 power supply uses a 240-volt outlet, which significantly accelerates the process. You can expect to gain approximately 25 miles of range per hour, making it ideal for those who drive daily or have longer commutes. Most Tesla owners find this option to be the most practical and efficient for their needs.
By understanding the differences in power speeds and installation requirements for wiring a Tesla charger, you can identify the best option to suit your driving habits and energy consumption. For example, data indicates that with intelligent power management strategies, homeowners can lower peak load demands by up to 50%, further optimizing their energy use. A case study titled “Increasing Photovoltaic Self-Consumption with Smart Power Management” demonstrates how smart power management can optimize EV refueling based on photovoltaic output and household consumption, showing significant benefits in reducing peak loads in residential buildings.
Furthermore, with the worldwide lithium-ion automotive battery production capacity anticipated to attain 3.2 TWh by 2030, progress in power supply technology is expected to enhance further. Real-world examples indicate that many electric vehicle owners who transitioned to Level 2 power supply through wiring a Tesla charger have experienced substantial time savings and convenience, as Level 2 power supply offers a replenishment speed of approximately 25 miles of range per hour compared to only 3-5 miles per hour with Level 1 power supply.
If you’re considering enhancing your entire energy system, exploring solar panel options, including government programs that support solar energy adoption, can further contribute to a sustainable lifestyle. These programs frequently offer financial incentives for setup and can significantly lower the expense of adopting solar energy. Additionally, understanding the functionality of solar panels and utilizing top solar panel cleaning services can maximize their efficiency and lifespan.
Ultimately, your choice will depend on your lifestyle and how you plan to use your electric vehicle.

Cost Considerations for Installing a Tesla Charger
When you’re considering the installation of a Tesla charger at home, it’s important to keep several key cost factors in mind:
- Charger Cost: The Tesla Wall Connector typically costs around $400, providing a reliable charging solution that fits seamlessly into the modern garage aesthetic.
- Installation Fees: Depending on your home’s electrical setup and the complexity of the job, hiring a licensed electrician can cost approximately $1,200. It’s advisable to obtain multiple quotes to better understand your options, ensuring you get the best value.
- Additional Materials: Be sure to budget for any extra materials you may need, such as wiring a Tesla charger, circuit breakers, and mounting hardware, as these can add to your overall expenses.
- Permits: Check your local regulations, as some areas might require permits for setup, which can further increase your costs.
In total, you can anticipate investing approximately $1,600 for a complete setup, which encompasses the cost of the wall connector and service fees. Understanding these financial aspects is crucial as the landscape of EV ownership continues to evolve. As Sean Tucker, an expert in the automotive and energy sectors, emphasizes, “Understanding these financial benefits is crucial as the landscape of EV ownership continues to evolve.”
Additionally, exploring local incentives and rebates can significantly reduce installation costs, making this investment even more appealing. For homeowners looking to maximize efficiency, integrating solar energy into your charging setup can lead to even greater long-term savings. Moreover, for those keen on improving their sustainable home design, the electric vehicle station not only fulfills a practical role but also contributes a contemporary flair to your garage, potentially boosting your property value.
For additional insights, consider exploring our recent articles on electric vehicle home charging pricing, government solar panel programs, and the advantages of solar energy integration.

Safety Precautions and Compliance in Tesla Charger Installation
When wiring a Tesla charger, it is key to keep safety at the forefront. Here are some friendly reminders to ensure a smooth and secure setup process:
- Hire a Licensed Electrician: Unless you’re a seasoned pro with electrical work, it’s wise to bring in a qualified electrician. They possess the training and expertise to manage the complexities of the setup safely. In fact, with an average fatality rate of 0.10 for all occupations, it’s crucial to prioritize safety in electrical work.
- Follow Local Codes: Always check and comply with local building and electrical codes. These regulations may involve obtaining permits or having inspections done, which can help you avoid headaches down the line. As Jeromy Newton, Vice President of Operations, emphasizes,
Adherence to electrical codes is essential for any setup.
- Use Proper Equipment: Ensure that all your tools and materials meet safety standards. Remember, it’s never worth cutting corners when it comes to quality—your safety depends on it!
- Double-Check Connections: Before you switch the power back on, take the time to ensure that all connections are secure and well-insulated. This simple step can help you prevent short circuits and other potential issues related to wiring a Tesla charger.
By prioritizing these safety measures and compliance requirements, you not only protect yourself but also ensure that your installation is both reliable and efficient. The Bureau of Labor Statistics conducts a Census of Fatal Occupational Injuries to verify fatal injury cases, highlighting the importance of adhering to safety standards. Following these guidelines will help your charging station serve you well for years to come!

Conclusion
Installing a Tesla charger at home is an important step towards embracing sustainable living and enhancing the convenience of electric vehicle ownership. By ensuring you have the right tools and materials, you set the stage for a smooth installation process. Understanding the differences between Level 1 and Level 2 charging options allows you to select the best fit for your lifestyle, balancing convenience with charging efficiency.
Cost considerations are also crucial; budgeting for the charger, installation fees, and potential permits helps prevent unexpected expenses. Moreover, prioritizing safety and compliance during installation safeguards not just your investment, but also your home and well-being. Hiring a licensed electrician and adhering to local codes is key to a successful setup.
Ultimately, this journey toward installing a Tesla charger is not just about convenience; it’s about making a commitment to a more sustainable future. By investing in home charging infrastructure, homeowners not only enhance their daily lives but also contribute to the growing movement of electric vehicle adoption. This transition not only supports personal energy independence but also plays a part in reducing the overall carbon footprint, paving the way for a cleaner, greener planet.