Overview
DIY solar shingles present a remarkable and sustainable roofing option for eco-conscious homeowners, merging energy generation with visual appeal. We understand that managing energy bills can be a significant concern, and this innovative solution not only addresses those worries but also contributes to energy independence. This article outlines essential steps for installation, from preparation and material selection to troubleshooting common issues. By emphasizing the importance of careful planning and execution, we aim to help you maximize both energy efficiency and the longevity of your shingles. Together, we can create a greener future while enhancing the beauty of your home.
Introduction
As you consider the rising costs of energy bills, it’s natural to seek sustainable energy solutions that can ease your concerns. Solar shingles emerge as a captivating alternative to traditional solar panels, providing not just a means to generate electricity from sunlight but also a stylish and protective layer for your home. These innovative roofing materials seamlessly integrate into your roofing structure, allowing you to enhance your home’s curb appeal while embracing eco-friendly technology.
We understand that making the switch to solar can feel overwhelming, but this article will guide you through the key distinctions between solar shingles and panels, the essential tools for installation, a step-by-step guide to the process, and common troubleshooting tips to ensure your solar shingle project is a success. By prioritizing energy efficiency and aesthetic value, you can take meaningful steps towards energy independence. Together, we can navigate these facets of solar shingles to empower you in making informed decisions on your journey towards sustainable living.
Understand Solar Shingles: Definition and Comparison to Solar Panels
Solar tiles, or photovoltaic tiles, are innovative roofing materials that not only generate electricity from sunlight but also provide a protective layer for your home. Unlike conventional photovoltaic panels, which are mounted on existing roofs, these roofing tiles are integrated directly into the roofing structure, offering a seamless and visually appealing appearance.
- Aesthetics: We understand that curb appeal is important to many homeowners. Roofing tiles are designed to blend in with traditional materials, providing a visually attractive alternative that enhances your home’s exterior.
- Efficiency: It’s common to feel concerned about energy efficiency. While conventional photovoltaic panels typically deliver higher power output per square foot, advancements in roofing tile technology have led to improved efficiency, making them a viable option for homes requiring roof replacements.
- Setup: If you’re a DIY enthusiast, you’ll be pleased to know that the setup process for solar shingles resembles that of regular roofing tiles, which could simplify your project. You can opt for a DIY setup, but we often recommend expert installation to ensure optimal performance and uphold warranty coverage.
When assessing photovoltaic materials versus photovoltaic panels, it’s crucial to analyze the costs and advantages. Conventional panels typically feature a lower initial expense and greater power production, whereas DIY solar shingles offer the unique benefit of serving both as roofing material and power generators. Homeowners should also investigate available government programs and incentives, such as the federal energy investment tax credit (ITC), which can significantly lower the overall cost of installation.
Furthermore, statewide tax credits and storage rebates are popular initiatives that further promote the adoption of renewable alternatives. Grasping these differences is essential for homeowners to decide which choice best satisfies their power requirements and aesthetic tastes. Recent trends suggest that as photovoltaic technology evolves, roofing shingles are gaining traction among environmentally aware consumers, with 78% of installers anticipating increased sales in 2025. This shift emphasizes the increasing focus on sustainable power solutions that do not sacrifice style or functionality.
Additionally, the incorporation of home EV charging stations, like Tesla home chargers, enhances the energy ecosystem. Together, we can explore a holistic approach to energy efficiency and sustainability that meets your needs. Let’s work towards a brighter, more sustainable future for your home.
Gather Essential Tools and Materials for Installation
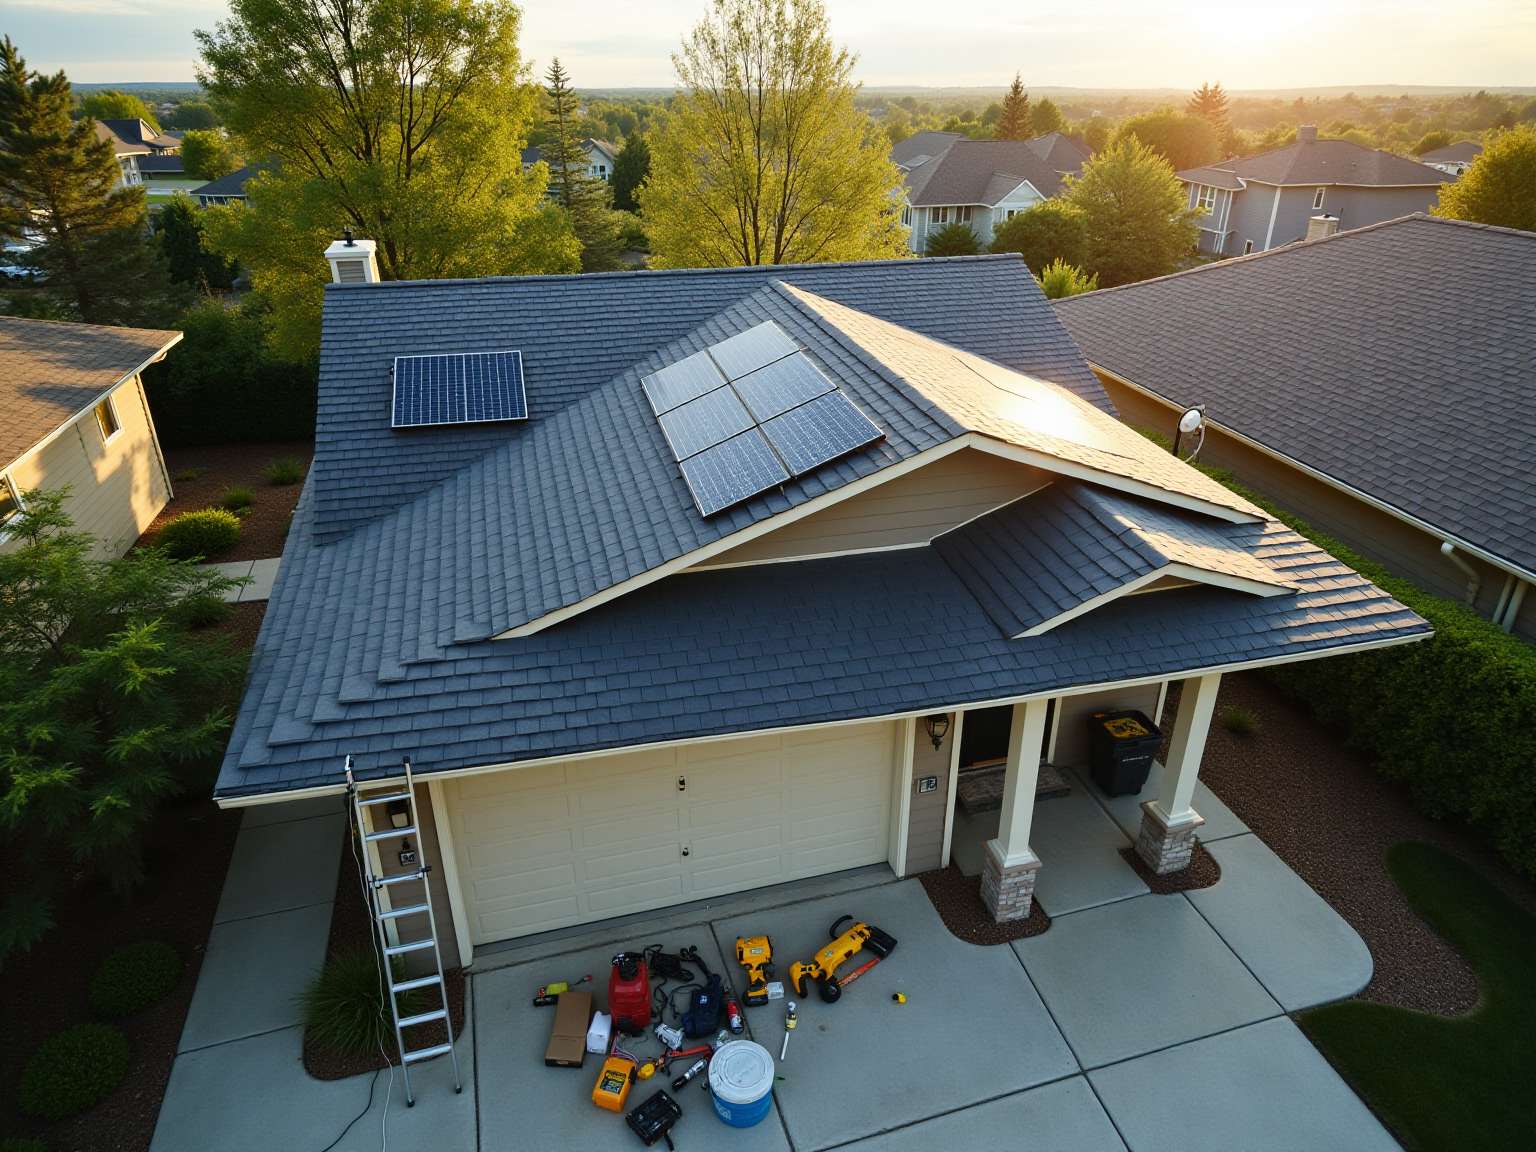
Before embarking on your solar tile setup, it’s essential to gather the right tools and materials to ensure a smooth process. We understand that the prospect of installing solar shingles can feel overwhelming, but having everything in place will make the journey much easier. Here’s a comprehensive list to help you get started:
Tools Needed
- Measuring Tape: This is essential for accurate measurements of your roof and tile placement, ensuring optimal installation.
- Power Drill: A vital tool for securely attaching roofing materials and other elements to your roof.
- Level: This tool ensures that your roofing materials are installed evenly, which is crucial for both aesthetics and functionality.
- Safety Gear: Equip yourself with gloves, goggles, and a hard hat to protect against potential hazards during setup.
- Ladder: A sturdy ladder is necessary for safe access to your roof, allowing you to work efficiently.
Materials Required
- Solar Shingles: Invest in high-quality shingles that align with your energy needs and sustainability goals.
- Underlayment: A waterproof barrier that protects your roof from moisture and enhances durability.
- Flashing: This material is crucial for preventing water leaks around edges and penetrations, ensuring a watertight seal.
- Sealant: Utilize sealant to fasten shingles and establish a dependable, watertight setup.
Having these tools and materials prepared will not only simplify your setup process but also assist you in avoiding unnecessary delays. With an average of 3.3 million new roofs anticipated to be installed each year until 2030, the interest in renewable energy installations is increasing, especially among environmentally aware homeowners. It’s common to feel anxious about energy bills, but as more individuals prioritize power resilience—80% of homeowners choosing battery storage mainly for backup electricity—being well-prepared is essential for a successful DIY solar shingles project.
Furthermore, long-term tax incentives and manufacturing provisions in the IRA are anticipated to enhance renewable energy deployment by 66.9%, making this DIY project not only environmentally friendly but also financially beneficial. Together, we can embrace the switch to clean energy. As Suman Raj aptly states, “Invest in your team’s success and embrace the switch to clean energy!
Follow the Step-by-Step Installation Process for Solar Shingles
Follow the Step-by-Step Installation Process for Solar Shingles
Are you feeling overwhelmed by rising energy bills? Installing solar shingles can be a fantastic step towards energy independence and sustainability. Let’s walk through the installation process together, ensuring you have the support you need.
Step 1: Prepare Your Roof
First, it’s essential to conduct a thorough inspection of your roof. Identify any damage and confirm its structural integrity—addressing repairs beforehand is crucial. Clearing the roof of debris will create a clean and safe working environment, allowing you to proceed confidently.
Step 2: Install Underlayment
Next, lay the underlayment across the roof. Ensure the seams overlap to form a waterproof barrier, securing it in place with roofing nails. This step is vital for protecting your home from the elements.
Step 3: Position the First Row of Shingles
Begin at the bottom edge of the roof, aligning the first row of roofing tiles carefully. It’s important that they are level—secure them with nails according to the manufacturer’s specifications. This sets a solid foundation for the rest of your installation.
Step 4: Install Subsequent Rows
Continue the installation by adding shingles row by row, overlapping each according to the manufacturer’s guidelines. Maintaining proper alignment and securing each roofing tile with nails will ensure a durable setup.
Step 5: Install Flashing
Apply flashing around chimneys, vents, and other roof penetrations to prevent leaks. Use sealant to secure the edges for additional protection, safeguarding your investment.
Step 6: Final Inspection
After all shingles are installed, perform a comprehensive inspection to ensure everything is secure and aligned correctly. Make any necessary adjustments—this attention to detail will pay off in the long run.
By following these steps, you can ensure a successful installation of DIY solar shingles, enhancing their efficiency and longevity. Many homeowners, about 7%, are choosing to incorporate solar shingles along with battery storage to maximize power utilization, achieving both independence and savings. Understanding local climate conditions is essential for selecting the most appropriate DIY solar shingles to maximize your investment.
Furthermore, as Ben Zientara observes, “The most favored incentive programs among installers are statewide tax credits for customers and storage rebates,” which can significantly improve the financial feasibility of your investment in renewable resources. Additionally, net-metering allows homeowners to receive payment from power companies for surplus electricity generated by photovoltaic roofs, offering an extra financial incentive.
It’s also important to consider the economic advantages and specifications of photovoltaic batteries when planning your setup, as these choices can greatly affect your overall energy efficiency. Together, let’s work towards a sustainable future that benefits both you and the environment.
Troubleshoot Common Installation Issues and Solutions
Troubleshoot Common Installation Issues and Solutions
We understand that installing solar shingles can come with its challenges, and it’s perfectly normal to encounter a few bumps along the way. Here, we offer effective solutions to help you troubleshoot these common issues with care and compassion:
Issue 1: Misalignment of Shingles
- Solution: If you find that your shingles are misaligned, don’t worry. Simply remove the affected shingles with care and reposition them. Using a level can help ensure proper alignment before securing them again. Addressing misalignment promptly is crucial, as it can lead to reduced energy efficiency.
Issue 2: Leaks Around Flashing
- Solution: If you notice leaks, it’s essential to inspect the flashing installation. Ensure it is properly sealed and that there are no gaps. If necessary, apply additional sealant. Adequate flashing is vital to prevent water infiltration, which can harm both the roofing material and the underlying structure, so taking this step seriously can save you headaches down the line.
Issue 3: Insufficient Energy Output
- Solution: If your solar shingles aren’t generating the expected energy, it’s worth checking for shading from trees or nearby structures. Trimming back any obstructions and ensuring the roofing material is clean and free of debris can make a significant difference. Remember, shading can greatly affect energy production, so keeping your panel array unobstructed is essential. Additionally, resolving installation problems can impact the total payback duration for solar roof tiles, which generally varies from 5 to 15 years, averaging 8 to 12 years.
Issue 4: Difficulty in Securing Shingles
- Solution: If you’re having trouble securing shingles, make sure your power drill is set to the correct torque. If the roofing tiles feel too tight, adjusting the drill settings can help avoid damage. Correct fitting methods are crucial for the durability and effectiveness of DIY solar shingles.
By recognizing these typical problems and their resolutions, you can tackle issues swiftly and uphold the quality of your shingle setup. Furthermore, selecting a provider knowledgeable about regional regulations and climate factors can enhance the success of your installation. Local providers can navigate permit requirements and recommend suitable products that perform well in your specific environment, as highlighted in the case study titled “Local Knowledge in Solar Installations.”
Moreover, as Ben Zientara mentioned, the changing policy environment may affect photovoltaic setups, making it essential to stay updated on possible alterations. Lastly, understanding the average resolution time for solar shingle installation issues can help set realistic expectations for addressing these challenges. Together, we can navigate these hurdles and work towards a brighter, more sustainable future.
Conclusion
We understand that many homeowners are concerned about rising energy bills and are seeking solutions that not only alleviate these costs but also enhance the beauty of their homes. Solar shingles present a compelling alternative to traditional solar panels, offering both aesthetic appeal and sustainable energy generation. By integrating seamlessly into the roofing structure, solar shingles not only enhance curb appeal but also serve a dual purpose as a protective roofing material. Understanding the distinctions between solar shingles and panels is essential for making an informed choice that suits your energy needs and design preferences.
The installation process, while straightforward, requires careful preparation and the right tools to ensure a successful outcome. Following a systematic approach—from preparing the roof and laying underlayment to securing shingles and addressing potential issues—can significantly enhance the efficiency and lifespan of the installation. It’s common to feel apprehensive about potential challenges that may arise during this process, but being aware of them and having effective solutions at hand can help maintain the integrity of your system.
Ultimately, embracing solar shingles is a meaningful step towards energy independence and sustainability. Together, we can work towards long-term cost savings, increased property value, and a reduced carbon footprint. As the demand for eco-friendly solutions continues to grow, solar shingles stand out as an innovative option that marries functionality with style. We invite you to take this important step for a cleaner, more sustainable future—let’s explore how we can support you in this journey.


